In this post I’m going to show you how to display on a map the locations contained in a SharePoint 2013 list enabling the new Geolocation Field and Map View.
Note: The proposed solution works both for SharePoint 2013 On Premises and Online.
Scenario
We want to dynamically display the locations contained in a list on a Bing Maps map in a SharePoint 2013 site.

Steps
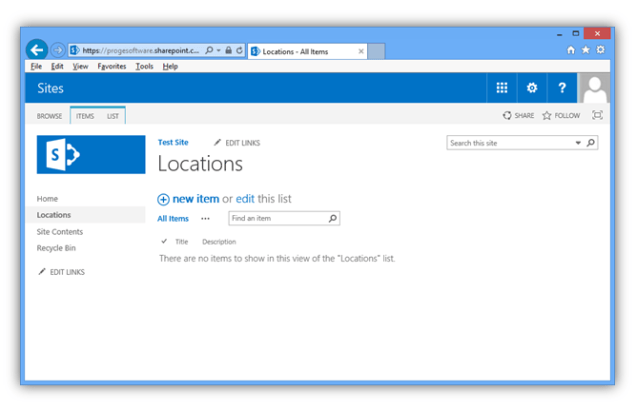
1. Create the list
Create the list that will contain the locations to show on the map.
In our example the list has simply Title and Description fields.
Later in this post we’ll learn how to add the location field.
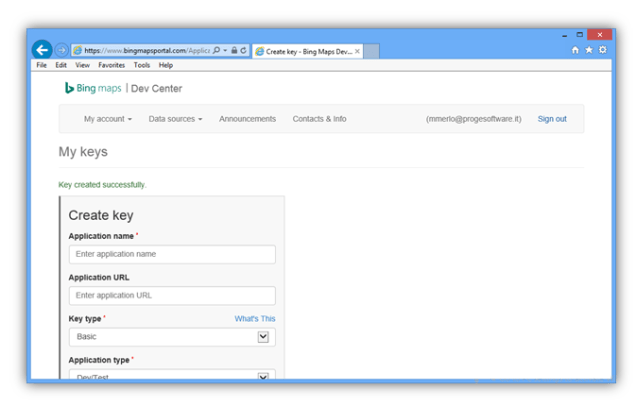
2. Get a Bing Maps key
You can obtain a valid Bing Maps key from here.
3. Create the location field
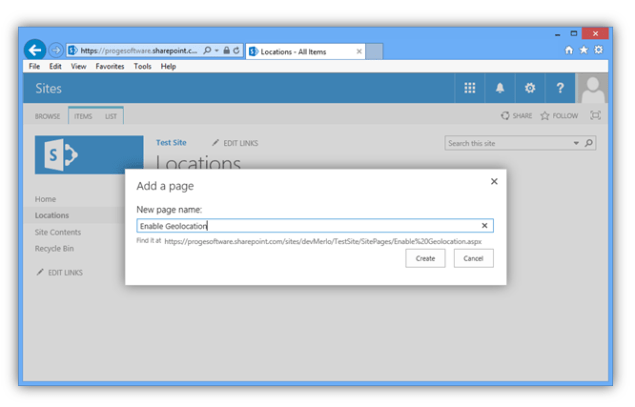
To create the location field on our list we need to use a custom form in a page containing a script.
So first create a page where you wish to place the custom form.
On that page add a Script Editor web part that will contain both the script and html for our form.
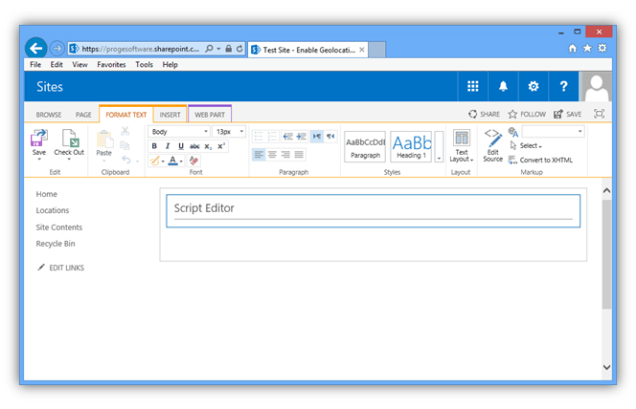
First add this javascript:
<script type="text/javascript">
var clientContext;
var relativeAdress;
function AddGeolocationField() {
ClearNotifications();
GetRelativeAdress();
clientContext = new SP.ClientContext(relativeAdress);
var web = clientContext.get_web();
var targetList = web.get_lists().getByTitle(document.getElementById('listname_input_id').value);
var fields = targetList.get_fields();
fields.addFieldAsXml(
"<Field Type='Geolocation' DisplayName='" + document.getElementById('fieldname_input_id').value + "'/>",
true,
SP.AddFieldOptions.addToDefaultContentType);
clientContext.load(fields);
clientContext.executeQueryAsync(function (sender, args) {
document.getElementById('success_id').innerHTML = "You have succesfully created new geolocation field.";
},
function (sender, args) {
document.getElementById('error_id').innerHTML = "Error: "+args.get_message();
});
}
function SetBingKey() {
ClearNotifications();
GetRelativeAdress();
clientContext = new SP.ClientContext(relativeAdress);
var web = clientContext.get_web();
var webProperties = web.get_allProperties();
webProperties.set_item("BING_MAPS_KEY", document.getElementById('bing_key_id').value);
web.update();
clientContext.load(web);
clientContext.executeQueryAsync(function (sender, args) {
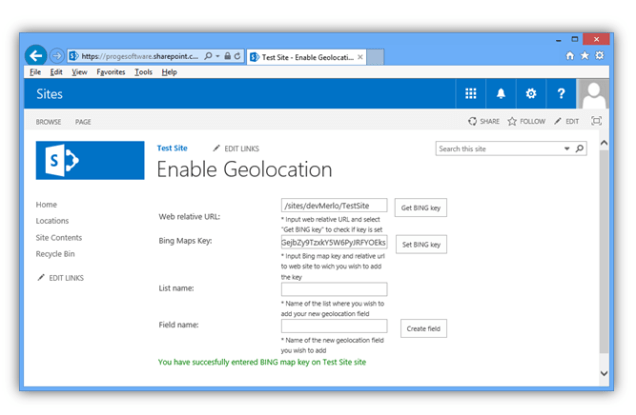
document.getElementById('success_id').innerHTML = "You have succesfully entered BING map key on "+web.get_title()+" site";
}, function (sender, args) {
document.getElementById('error_id').innerHTML = "Error: "+args.get_message();
});
}
function GetBingKey() {
ClearNotifications();
GetRelativeAdress();
clientContext = new SP.ClientContext(relativeAdress);
var web = clientContext.get_web();
var webProperties = web.get_allProperties();
clientContext.load(webProperties);
clientContext.executeQueryAsync(function (sender, args) {
document.getElementById('bing_key_id').value = (webProperties.get_fieldValues()["BING_MAPS_KEY"]);
}, function (sender, args) {
document.getElementById('bing_key_id').value = "";
document.getElementById('error_id').innerHTML = "Property not found! Please check your web site relative URL.";
});
}
function ClearNotifications(){
document.getElementById('success_id').innerHTML = "";
document.getElementById('error_id').innerHTML = "";
}
function GetRelativeAdress(){
if (document.getElementById('webrelative_url_id').value === "")
relativeAdress = "/";
else
relativeAdress = document.getElementById('webrelative_url_id').value;
if(relativeAdress.charAt(0)!='/')
document.getElementById('error_id').innerHTML = "Relative adress has to start with /";
}
</script>
Then add this html:
<table style="width: 480px;"> <tbody> <tr> <td style="width: 200px;">Web relative URL:</td> <td style="width: 5px;"> </td> <td valign="top"><input id="webrelative_url_id" name="relative" type="text" value="/"> <label style="font-size: 8pt;"> * Input web relative URL and select "Get BING key" to check if key is set</label></td> <td style="text-align: right;" valign="top"><input onclick="GetBingKey()" type="button" value="Get BING key"></td> </tr> <tr> <td style="width: 200px;" valign="top">Bing Maps Key:</td> <td style="width: 5px;"> </td> <td valign="top"><input id="bing_key_id" name="bingkey" type="text"> <label style="font-size: 8pt;"> * Input Bing map key and relative url to web site to wich you wish to add the key</label></td> <td style="text-align: right;" valign="top"><input onclick="SetBingKey()" type="button" value="Set BING key"></td> </tr> <tr> <td style="width: 200px;" valign="top">List name:</td> <td style="width: 5px;"> </td> <td valign="top"><input id="listname_input_id" name="listname" type="text"> <label style="font-size: 8pt;"> * Name of the list where you wish to add your new geolocation field</label></td> <td></td> </tr> <tr> <td valign="top">Field name:</td> <td style="width: 5px;"> </td> <td valign="top"><input id="fieldname_input_id" name="fieldname" type="text"> <label style="font-size: 8pt;"> * Name of the new geolocation field you wish to add</label></td> <td style="text-align: right;" valign="top"><input onclick="AddGeolocationField()" type="button" value="Create field"></td> </tr> </tbody> </table> <label id="error_id" style="color: red;"> </label> <label id="success_id" style="color: green;"> </label>
And now you have your form for adding geolocation fields anywhere on your site collection.
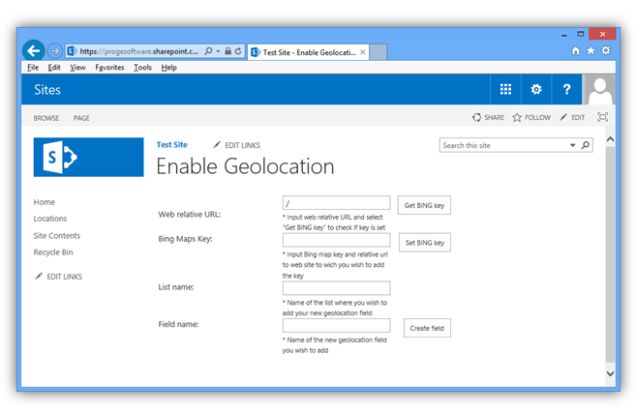
Once you have entered the relative path to your web you can use the Set BING key button to add the BING maps key to the web.
You can optionally use the Get Bing key button to check if you have already a BING maps key placed in that web.
Once entered List name and Field name you can use the Create field button to add a geolocation field with the name you specified to the list on the web.


Note: For SharePoint 2013 On Premises an MSI package named SQLSysClrTypes.msi must be installed on every SharePoint front-end web server to view the geolocation field value or data in a list. This file is installed by default for SharePoint Online.
More information on this can be found here.
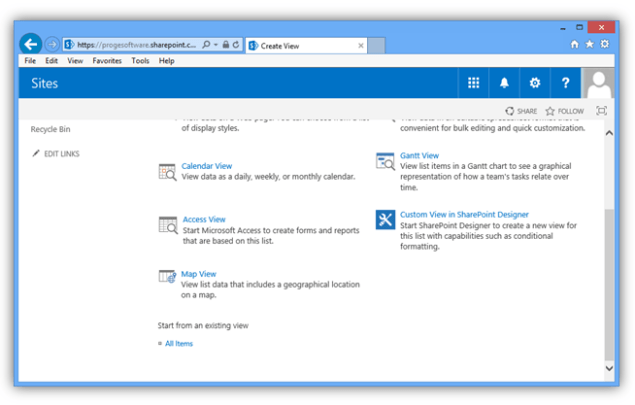
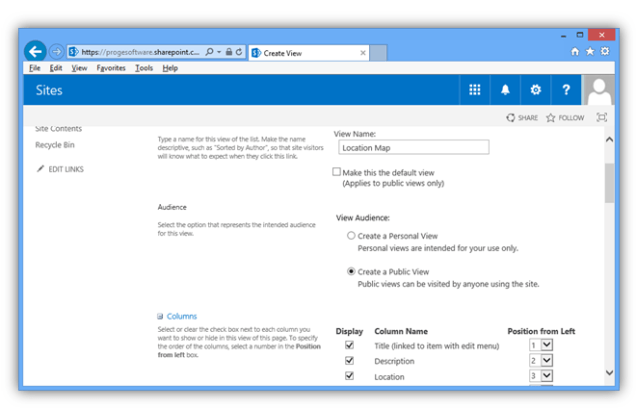
4. Create the Map view
You now have the possibility to create a Map view for your list to show locations.
Conclusion
You can now add items to your list and see their locations appear on the Map view.
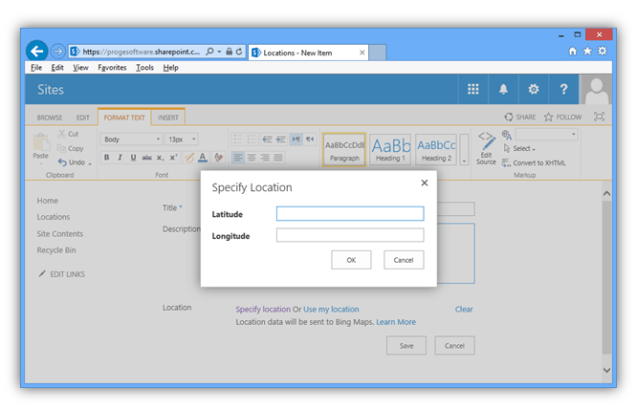

Thanks for this. I got it working but it would be great if the Lat Long could be auto-filled from the address.
LikeLike