In this post I’m going to show you how to create a no server side code timer job using a SharePoint Designer 2013 site workflow.
Scenario
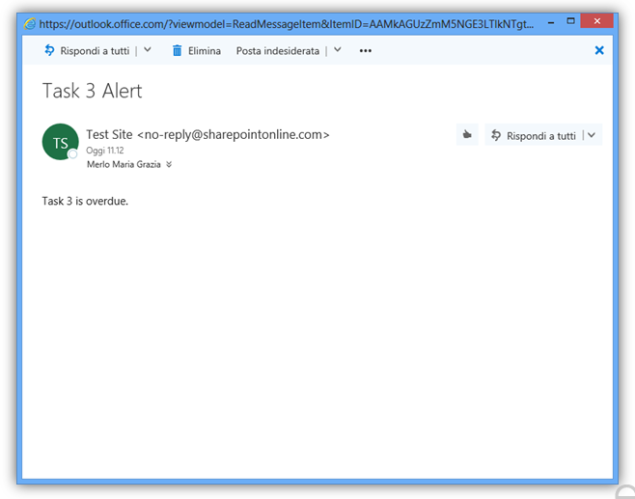
We have a SharePoint Online (Office 365) site with a task list in it and we need to send daily alerts to users that have overdue tasks assigned to them.

Problem
The obvious solution would be to create a timer job to do that… Unfortunately we are in an Office 365 environment so we do not have the possibility to implement a standard timer job using server side code.

Solution
We can simulate the behaviour of a timer job using a Sharepoint Designer 2013 site workflow.
Steps
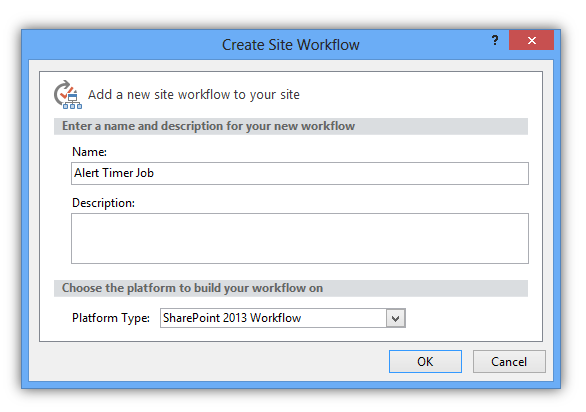
1. Create a New Site Workflow in Sharepoint Designer 2013
Open SharePoint Designer 2013 and create a new site workflow
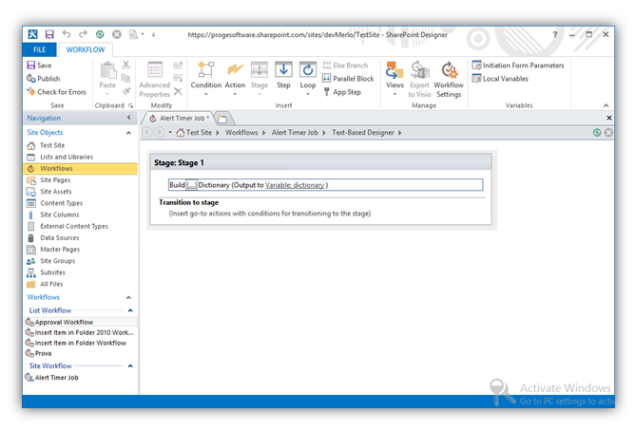
2. Get All Overdue Tasks that are not Completed
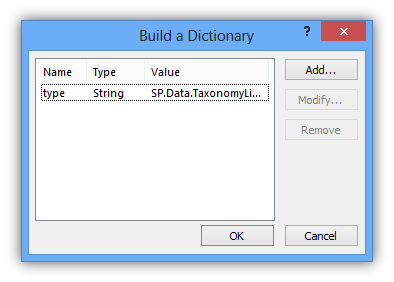
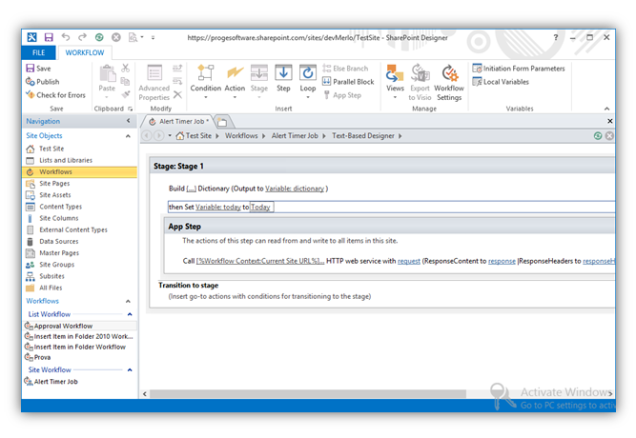
In the first stage (let’s call it “Getting Overdue Tasks”) build a dictionary to store the accept header for our rest request and get results in json:
accept: application/json;odata=verbose

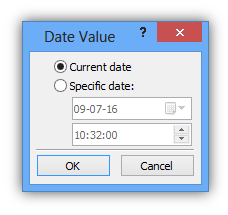
Put the current date in a DateTime variable (let’s call it “today”).
Then call the SharePoint REST Service to get the overdue tasks.
To do so insert the “Call HTTP Web Service” action in the workflow (in an App Step to avoid permission related problems).
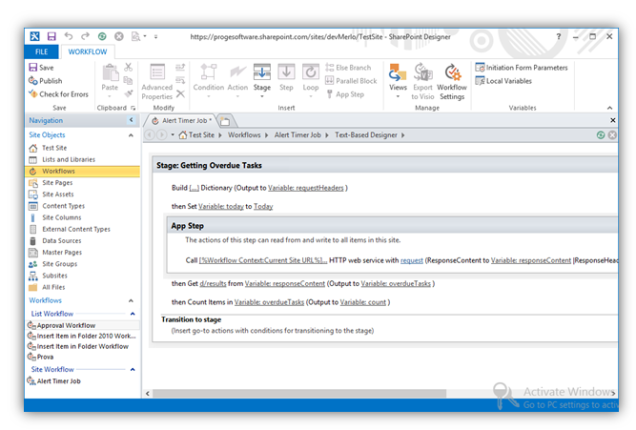
The action url must be constructed dynamically using the “today” variable like this:


Set the action verb to GET, the request headers to the headers dictionary previously built and the response content to a dictionary to store the request result.

Get and store the returned tasks in a separate dictionary to count them and loop through them later.
3. Send Alerts to Overdue Tasks Assignees
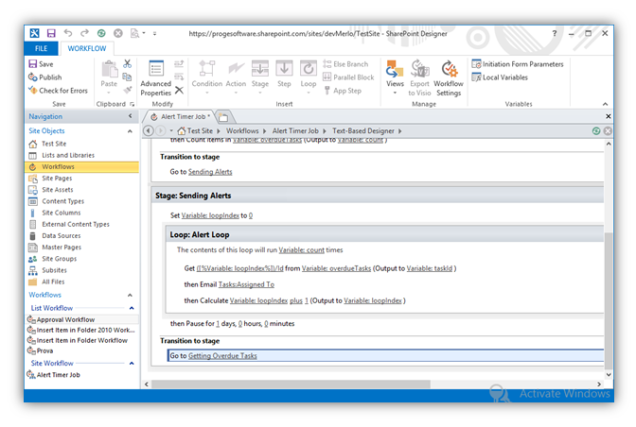
Create a second stage (let’s call it “Sending Alerts”) to send alerts and then link the first stage to it.
Insert a loop and inside it extract the task id from the rest response and send an email to each overdue task assignees.
Use a loop index variable to address the current task and remember to initialize it to zero and increment it properly at the end of the loop.


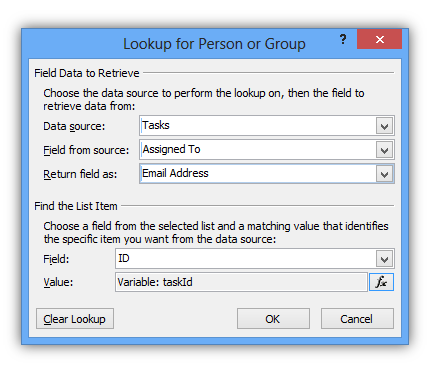
To get the email address of the recipient (the task assignee) use the task id previously extracted from the rest response like this:
4. Wait One Day and Start Over Again
Insert a pause action and configure it to wait one day.
Link the “Sending Alerts” stage to the “Getting Overdue Tasks” stage to start over again.
Conclusion
Here is how the complete workflow will look at the end of the process:

Publish the site workflow and start it (you can access the “Site Workflows” page from the “Site Contents” page).

It will send the alerts daily as expected.